
(Please visit this post as it was originally composed using the Gutenberg editor.)
I just about lost it the first time I had to edit something with Gutenberg … because I’m busy and I have to get work done on time. Just like you.
So, instead of using Gutenberg, I installed the Classic Editor. Probably just like you.
But, change is inevitable, and some growing pains come with it. We’ll have to learn this soon or later, and I must admit I like the new interface, it’s just that my fingers don’t know where anything is yet. So with that in mind, the purpose of this post is to make that first humbling learning curve a little less painful for you than it was for me.
Blocks
The Gutenberg editor uses the term “Blocks” to describe various elements of content you can add to an article or page. For example, this paragraph is a single paragraph block. If I move my mouse around inside the block, a pale grey line appears on the four sides of the paragraph to visually delimit the block. If I want to add another paragraph block, all I need to do is hit enter and
POOF! Another paragraph appears in its own block, so writing text is the same as you’re used to. When I mouse over any paragraph you can see its delimiter as well as the formatting bar in a tab on the left:

So how did I insert the screenshot? Simple. With the cursor inside the paragraph block, the tab menu appears. Click the More Options dots on the right. Choose Insert Before or Insert After and an empty block appears.
There are a couple of ways to insert the image. On the left is a plus icon which pulls up the block menu, just choose “image” and follow the directions. Or, use the shortcuts on the right side of the block which includes icons for adding images, headings and galleries.
![]()
This is an empty block. Start typing, or use the Plus icon or the icons on the upper right to begin.
“Blocks” is also a descriptive name. The new editor is designed to let you arrange and easily re-arrange your block-delimited content into practically any layout, without requiring a plugin or hand-coding in the text editor or updating a style sheet to manage the display of content across devices. Blocks can be dragged, even nested into other blocks. Layouts can be saved for re-use. This is a real gain for editors.
Types of Content
At the upper left of the content editor, click the Plus icon and many types of content available will display in a menu below the icon.

The top half of the drop down menu showing the most common types of Block content.

The sliding bar on the right reveals more categories of content available.
We won’t examine everything you can insert as a Block but let’s look at a few that will enhance your content right away.
Columns!
Although CSS columns have been around for a while, the old editor had no means of creating them without some hand coding in the text editor. Without CSS and HTML knowledge, editors depended on plugins or pre-defined layouts with custom fields to ensure columnar content displays appropriately on desktops and mobile devices. For some of us, this skill is still needed because it will take time for Gutenberg and plugin makers to catch up with each other, and many websites use pre-defined layouts with custom fields for which the Blocks editor may not be compatible.
But don’t worry about all that – that’s really my job. Let’s make some columns.
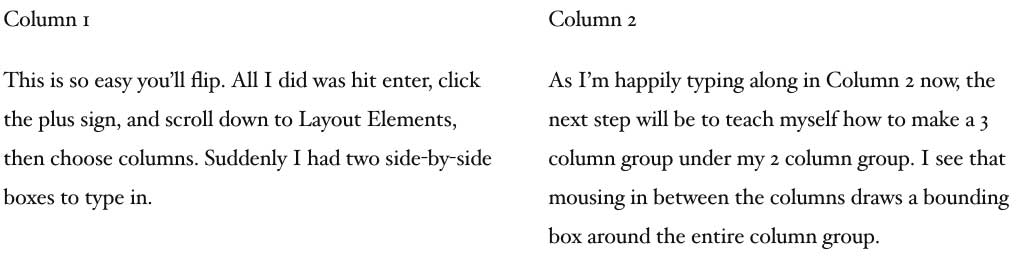
Column 1
This is so easy you’ll flip. All I did was hit enter, click the plus sign, and scroll down to Layout Elements, then choose columns. Suddenly I had two side-by-side boxes to type in.
HOW TO: 3 Columns
Making a 3 column group required me to Google a little, oh well. It turns out you need to select the column group, then determine the number of columns from the right sidebar column slider.

I discovered you must insert the default 2 column layout, then use the mouse to select the whole column group. It was a bit difficult to select it with the mouse, I found I had the best results by mousing near the middle of the columns. Once the mouse detected the group, the right sidebar changed to show the columns slider. I typed a 3 in place of the 2 and voila!

After labeling the columns to make it clear, I have this, below. You can insert more blocks into each column, i.e., nesting blocks within blocks.

I’m finding that as I write this first post, I’m getting better and better at selecting the elements, for example, the column groups. Just mousing slightly above the group revealed the group and the all-important plus icon for inserting blocks.
Beautiful Backgrounds

So how did I do that? It’s called a “Cover” and is available from the Add Block menus. But just to mess with you, I’m going to teach you a shortcut. Hit enter and type “/cover” without the quotes and hit enter again. Or just type a / and you’ll get a shortcut menu. Nice. Once you do that, you’ll see the obvious Cover options to upload or browse to your background.

Once the background is chosen, you’ll be able to type your title in the prompt.

Notice there are options for your cover in the tab menu at the top. You can make exciting 100% width content easily, just click the Full Width
icon and since this is enough learning for one day …